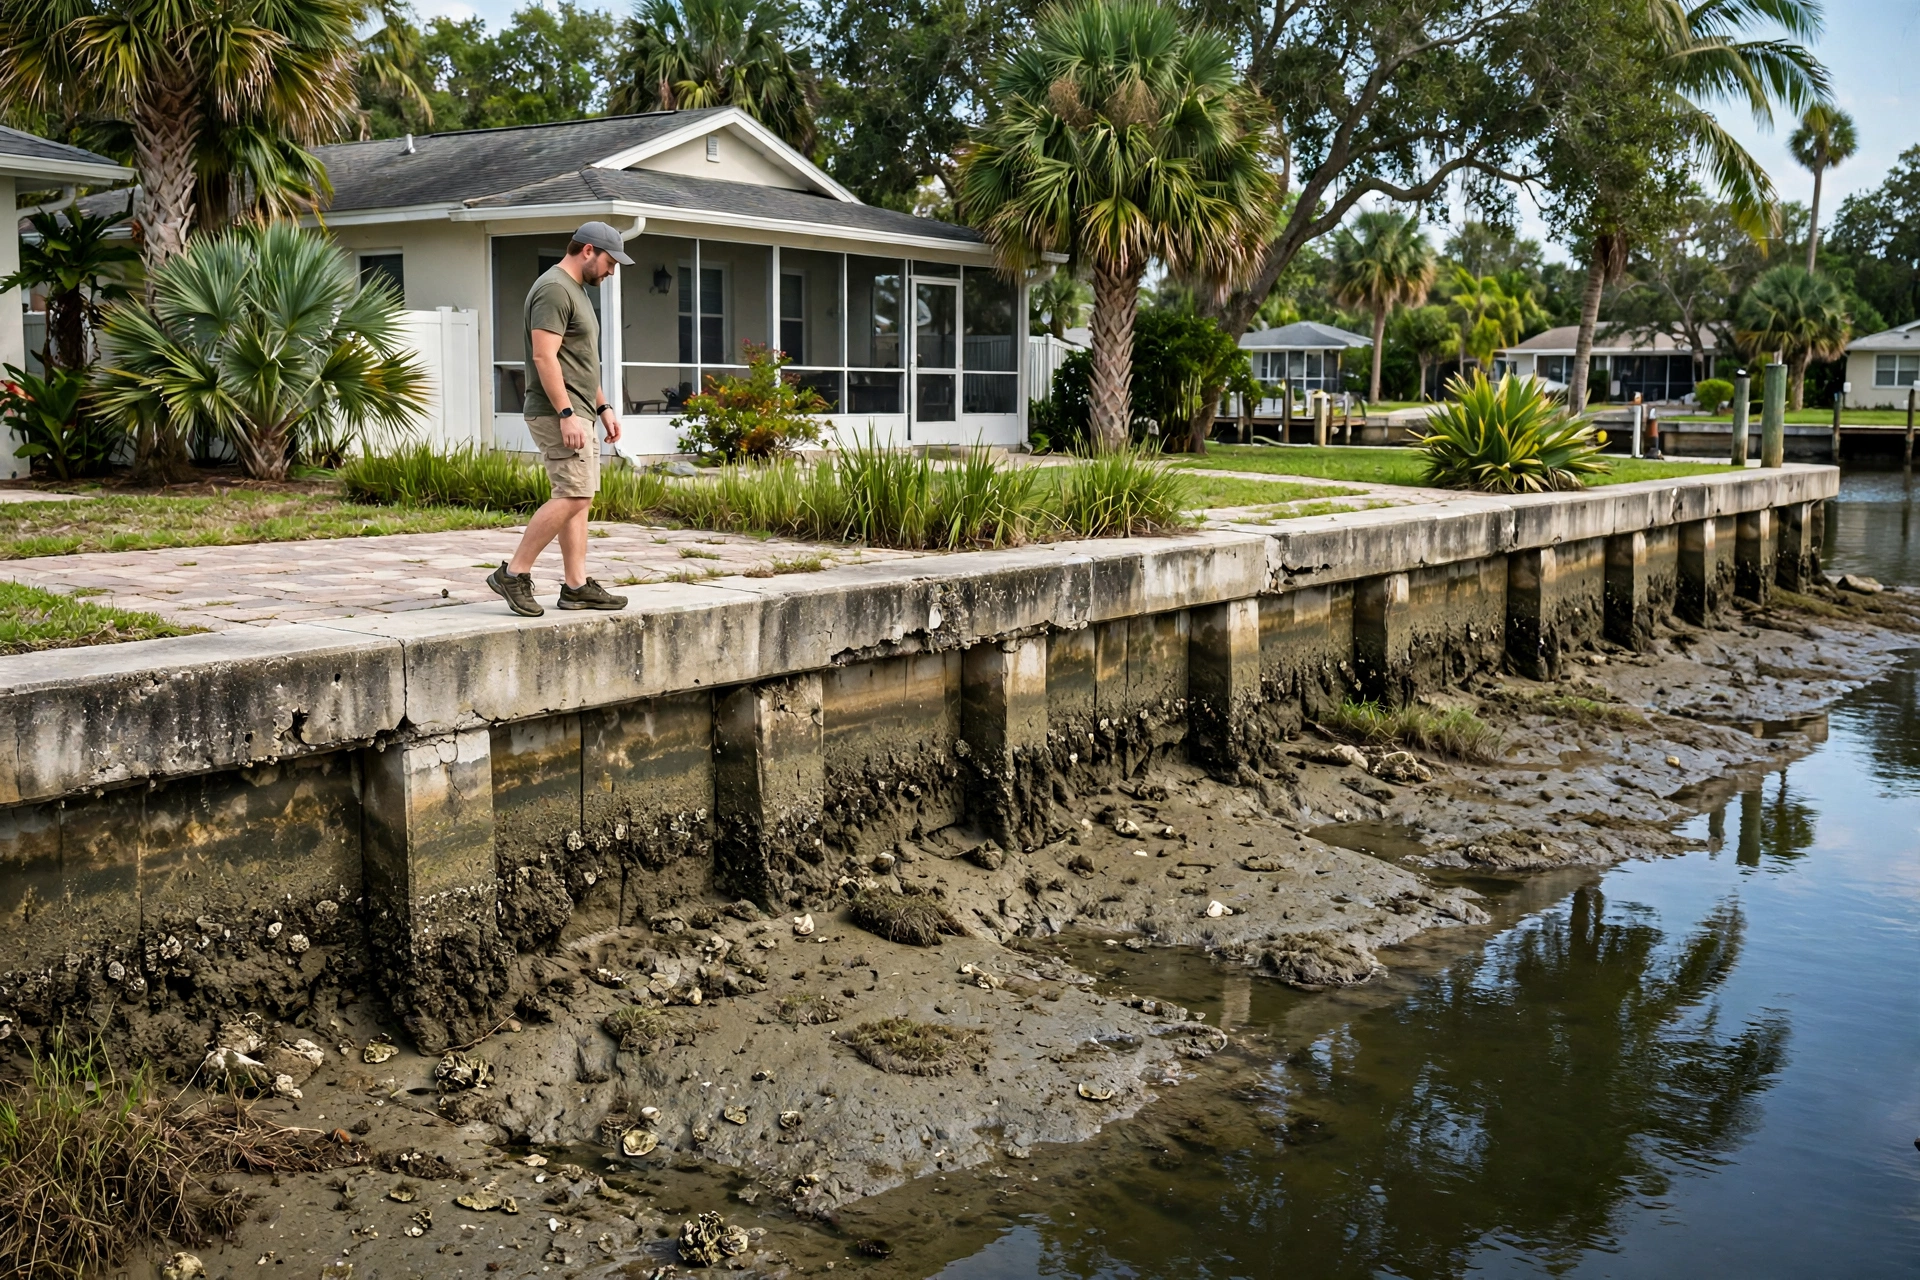
Seawall Inspection Checklist for Pinellas County Homeowners (2026 Guide)
Why Your Seawall Deserves a Yearly Walk
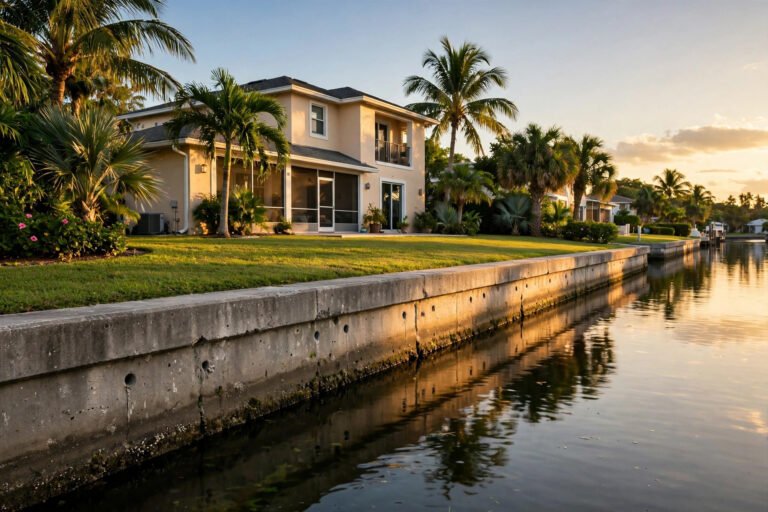
Your seawall works every hour of every day. It holds back the water, holds up your yard, and takes the full force of tides, boat wakes, storms, and salt. Most Pinellas County seawalls do that job quietly for decades, and that quiet is exactly why problems get missed. A small crack in the cap, a weep hole slowly clogging with sand, a soft spot forming behind the wall: none of these announce themselves.
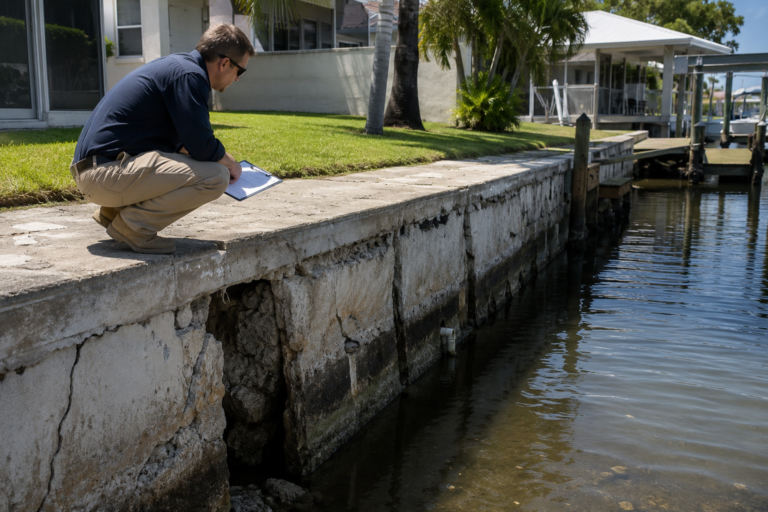
The good news is that most early seawall problems are visible to a careful homeowner. You need about thirty minutes, daylight, low tide if you can get it, and a phone to take dated photos. This seawall inspection checklist walks you through exactly what to look for, in the order that makes sense on a real walk, and what each finding means.
When to Inspect
Once a year is the minimum, and spring is a good default: calm weather, manageable tides, and a wall that has just come through winter cold fronts and the tail of the previous storm season. It also gives you time to schedule repairs before hurricane season ramps up in June. Beyond the annual walk, inspect after any event that stresses the wall: a tropical storm, a king tide cycle, or nearby construction or dredging. Water finds weakness fast, and a wall that was fine in May can come out of a September storm with new gaps at the cap and fresh soft spots in the yard. If you notice anything new at any time, photograph it, note the date, and check it again in a week to see whether it is changing. Try to time your walk for low tide, when you can see more of the wall face and the waterline zone where corrosion and marine growth do their worst.
What to Bring on the Walk
You need very little. Bring your phone, charged, for photos and notes, a tape measure or ruler for crack widths, and a screwdriver or thin probe for testing soft spots and weep holes. Wear shoes you can walk a seawall cap in, and be careful on wet concrete. Start at one end of the wall and work to the other end without skipping sections. Problems cluster. A wall can look perfect for forty feet and fail in the last ten. Photograph anything unusual, even if you are not sure it matters.
The Checklist: Walking Your Wall Top to Bottom
1. Start at the Cap
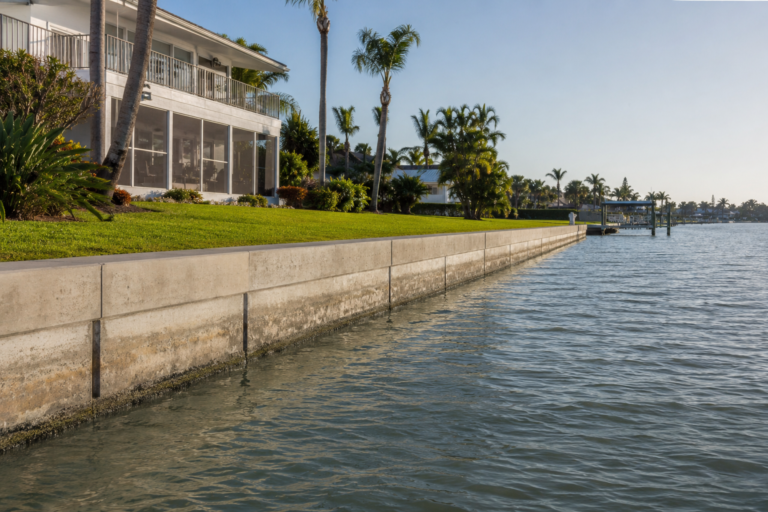
The concrete cap is the beam along the top of the wall that ties the panels together. Walk the full length on the yard side and look down at the joint where the cap meets the soil behind it. On a healthy wall, the backfill sits tight against the cap with no visible slot. If you see a gap, even a finger-width one, water is getting in during high tides and carrying soil out through the wall. Small gaps can be packed temporarily, but they need real attention, because they are often the first visible sign of soil loss behind the wall.
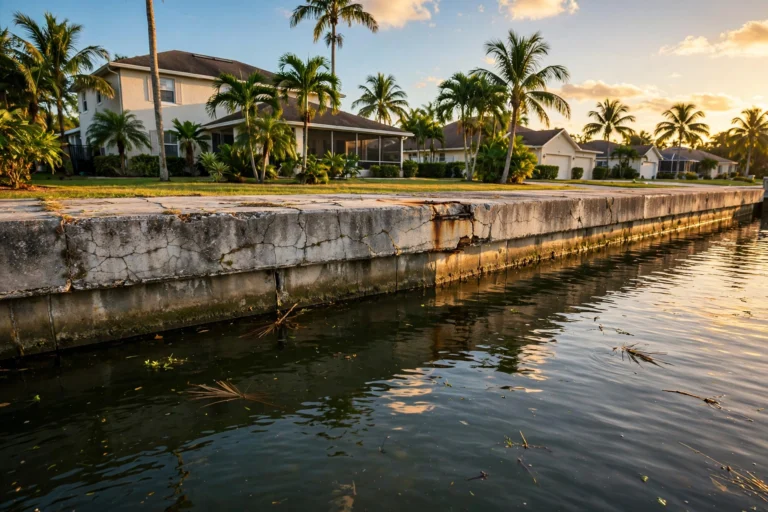
Now look at the cap itself for cracks, chips, and spalling, which is concrete flaking away from the surface. Fine hairline cracks are often cosmetic, but cracks that run the full width of the cap, cracks that are widening, or sections where the cap has dropped relative to its neighbors all deserve a professional look. If the cap has separated from the panels below it, that is structural, not cosmetic. Our guide to seawall cap repair in Pinellas County covers warning signs and typical costs.
2. Check the Panels
Walk the water side at low tide if you can safely do so, or inspect from the dock, and look at each panel. Concrete panels should sit in a straight line with even joints. Look for horizontal cracks, which can indicate pressure building up behind the wall, and vertical cracks, which can indicate rotation or settlement. A single short, stable hairline crack is usually not an emergency. A crack that runs from the cap down toward the waterline, a crack with rust staining around it, or a crack that has grown since your last walk all warrant a call to a marine contractor. For vinyl seawalls, look for panels that have bowed inward or pulled away from their neighbors, and for fasteners that have loosened or corroded. For steel seawalls, look hard at the waterline zone, where the wall is alternately wet and dry and steel corrodes fastest in Florida saltwater.
3. Look at the Joints and Seams
Between panels, the joints are sealed to keep soil in and water out. Check every joint for gaps where sealant has failed, for soil washing through at high tide, and for panels that have shifted out of line. Failed joints are one of the most common ways soil escapes, and they are easy to miss because the failure often shows up as a faint stain or a thin trickle of sand rather than an obvious hole. Pay special attention to the ends of the wall, where your wall meets a neighbor’s wall or a natural shoreline. End sections take extra wave energy and are a common place for erosion to start.
4. Test the Weep Holes
Weep holes are the small openings spaced along the wall that let groundwater drain out so pressure does not build up behind the panels. They are small, easy to ignore, and absolutely critical. A clogged weep hole means trapped water pushing on your wall every tide cycle. Find every weep hole. Each one should be open and should show at least some dampness or drainage after rain or at low tide. A weep hole that is dry when its neighbors are draining, or one packed with sand, shells, or marine growth, is clogged.
Clear minor clogs carefully with a thin probe or a gentle flush, and do not force anything that could damage the filter fabric behind the hole. If several weep holes are clogged, or clearing them releases a stream of sand, that sand is your yard leaving through the wall, and a contractor should look at the drainage system. Our full guide to seawall weep holes explains why drainage matters more than the wall itself.
5. Walk the Yard Behind the Wall
Now step back and walk the strip of yard, patio, or walkway closest to the wall. This is where soil loss shows up first. Look for depressions, soft spots, and pavers or concrete that have settled or tilted toward the water. Press down with your foot on suspicious spots. Ground that feels spongy or gives under your weight is a warning sign. Look for cracks in patios running parallel to the wall, which often trace the line where soil is washing out below. Check the lawn too. A patch that has sunk an inch or two can mark a void forming below. Voids can stay hidden for a long time and then open suddenly, so do not dismiss a small dip. If you find a depression, mark it, photograph it, and check it again in a week. A growing depression means active soil loss. Read more about how voids form in our guide to seawall soil loss in Pinellas County.
6. Look for Leaning, Bowing, and Movement
Stand back and sight along the wall from each end. The wall should run straight. A section that leans toward the water, bows inward, or steps out of line with its neighbors is telling you that something in the support system has given way. Leaning usually points to a tieback or anchor problem, since the tiebacks are what hold the top of the wall back against soil pressure. A wall that leans does not stabilize on its own. Compare what you see to your photos from last year. Movement is often gradual enough that you will not notice it in a single walk, but a photo comparison will show it. If the wall has moved at all, get a marine contractor or structural engineer who specializes in marine structures to assess it.
7. Check the Waterline and Below
At low tide, look at the band of the wall at the waterline. This is the hardest-working part of the wall. Look for rust staining, which signals corroding steel inside concrete or corroding tie rods, for exposed rebar, and for concrete that has softened or eroded. Clear a small patch of marine growth if you need to see what is underneath. Barnacles and oysters are normal in Pinellas County waters, but growth hiding a crack or a rust stain is a problem you cannot see. If you have a dock, check where it connects to the wall and where pilings meet the shoreline. Loose connections and gaps opening around pilings suggest movement in the shoreline system.
8. Check the Wall’s Neighbors and Connections
Finally, look at how your wall relates to what is next to it. If your wall ties into a neighbor’s wall, check that joint for separation or movement. If your wall ends at a natural bank or a riprap slope, check for erosion eating around the end. If you have a boat lift, davits, or a seawall-mounted structure, check the mounts and fasteners for corrosion and loosening. Shoreline systems fail at connections more often than in the middle of a run.
How to Record What You Find
A walk without notes is a walk you will forget. After each inspection, keep a simple record: the date, the tide level, a short note on each section of the wall, and your photos with the location noted. A phone note that says “south end, cap crack at third panel, photo 12, check again in June” is enough. What matters is that next year you can answer the only question that really counts: is this better, worse, or the same as last time? If you find something concerning, write down exactly what you saw and when. A contractor will ask when the crack appeared and whether it has grown, and homeowners who can answer get faster, more accurate assessments.
What Counts as Urgent
Most findings on a homeowner walk fall into the watch category: small stable cracks, minor cap chips, a single clogged weep hole, a little joint sealant wear. Note them, photograph them, and recheck them on your next walk. A few findings jump the line to urgent. Call a marine contractor promptly if you see a wall section leaning or bowing, active water or sand flowing through the wall at high tide, a sinkhole or sudden depression in the yard, a cap section that has dropped or separated, exposed and corroding steel at the waterline, or soil loss that is visibly growing week to week. If you are unsure whether something is urgent, treat it as urgent enough for a phone call. A free or low-cost assessment is far cheaper than a wall failure.
When to Call a Professional
Your own walk catches surface problems. A professional inspection catches what you cannot see. A marine contractor or engineer can probe for voids behind the wall, test tieback condition, inspect below the waterline, and assess the wall’s remaining life. Get a professional inspection if your wall is over twenty years old and has never been inspected, if you are buying or selling a waterfront home, if your walk turned up any urgent finding, or if you are planning a major project like a dock, a pool, or a seawall-adjacent addition. A professional inspection typically runs a few hundred dollars, and many contractors apply that cost toward repair work if repairs are needed. A seawall replacement can run hundreds of dollars per linear foot, so the economics of early detection are not close.
Talk to a Local Seawall Expert
If your walk turned up anything on this checklist that worries you, or if your wall has never had a proper inspection, talk to someone who looks at Pinellas County seawalls every day. Call (727) 316-5675 and describe what you found. A quick conversation can usually tell you whether you are looking at routine maintenance or something that needs a site visit. You can also send your photos and notes through the form below and get a straightforward answer about next steps.
Q: How often should I inspect my seawall in Pinellas County?
A: At least once a year, ideally in spring, plus an extra walk after any tropical storm, king tide cycle, or nearby construction. Walls over twenty years old deserve a professional inspection as well as your own yearly walk.
Q: What is the most important thing to check on a seawall?
A: The combination of the cap, the weep holes, and the ground behind the wall. A sound cap, open weep holes, and firm, level soil behind the wall together tell you the structure is holding. Problems in any one of the three deserve a closer look.
Q: Are small cracks in a seawall cap a serious problem?
A: Fine hairline cracks are often cosmetic, but cracks that run the full width of the cap, are widening, or show rust staining should be checked by a marine contractor. Compare them to dated photos to see whether they are changing.
Q: Can I inspect my own seawall, or do I need a professional?
A: You can and should do your own yearly walk using this checklist. A professional inspection is still worth it for older walls, urgent findings, and real estate transactions, because contractors can check below the waterline and probe for hidden voids.